Concrete Pump Parts Knowledge
Concrete Pump Piston Coupling: Wear Signs, Fit Checks, and Ordering Data
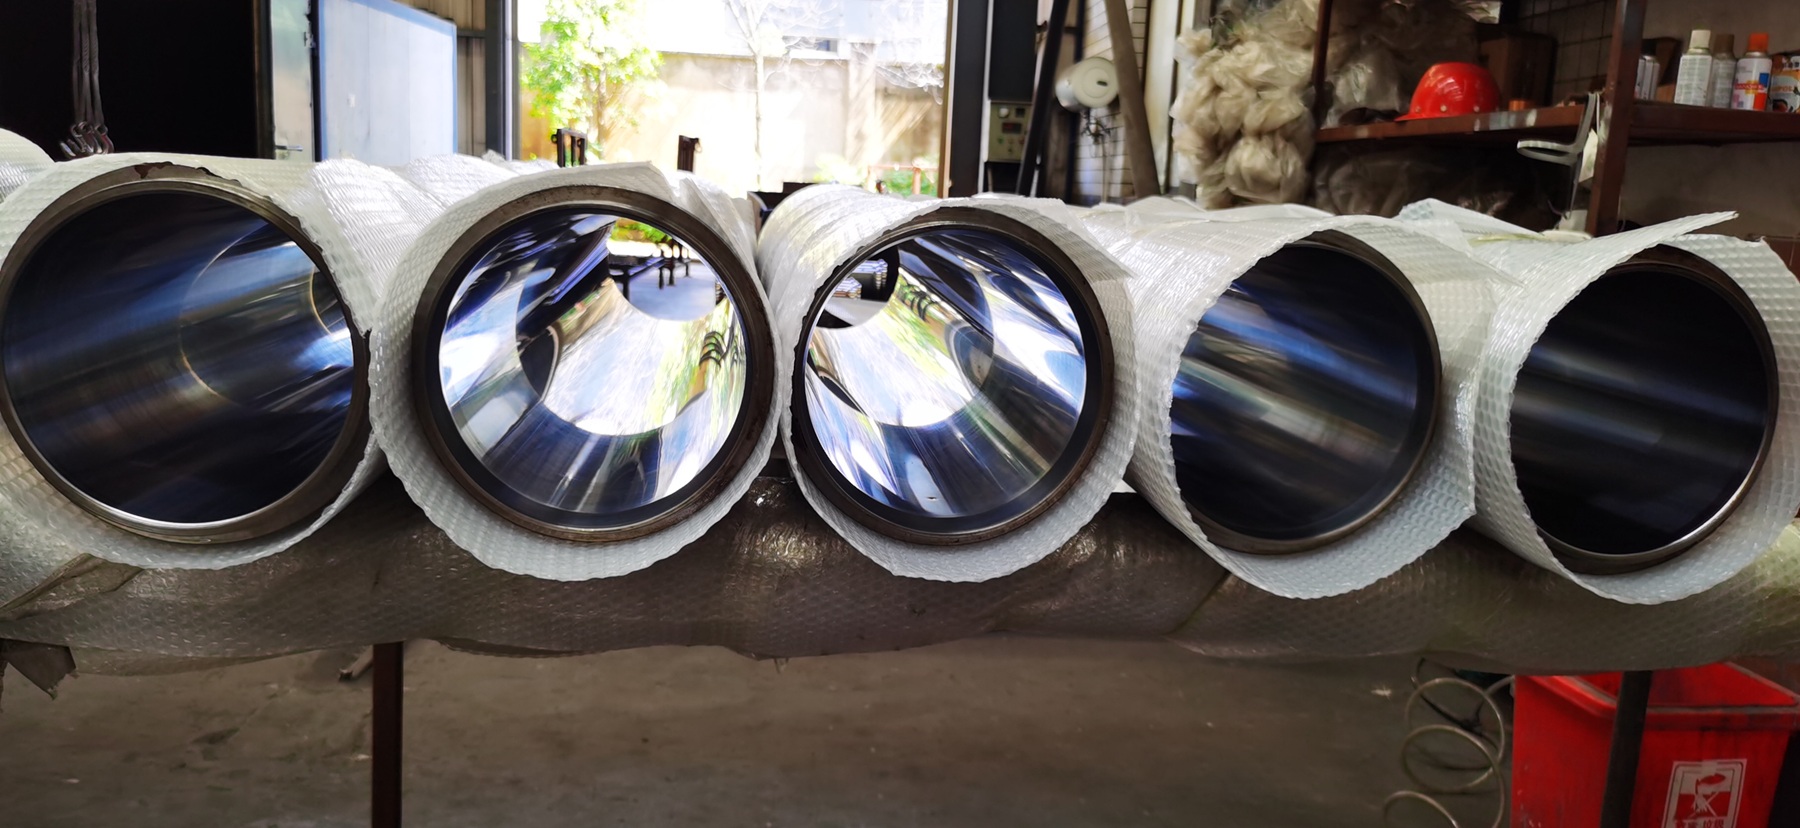
A concrete pump piston coupling is the joint that transfers reciprocating force from the hydraulic drive-cylinder rod to the concrete-side piston assembly. Depending on the pump, the same area may be described as a piston coupler, split clamp, locking collar, connecting rod, spacer, or “dog bone.” Those names are not automatically interchangeable. The joint geometry, mating faces, spacer length, fasteners, and piston adapter must match the specific pump design.
This distinction matters during diagnosis and purchasing. A knock near the water box does not prove that the coupling is worn, and a coupling that looks similar in a photograph may still locate the piston incorrectly. The useful question is whether the joint can transmit axial load without relative movement while keeping the hydraulic rod, connecting piece, and delivery piston on the intended centerline.
What Does the Piston Coupling Connect?
In a hydraulically driven twin-cylinder concrete pump, the hydraulic drive piston provides motion while the concrete-side piston or ram acts inside the material cylinder. The coupling area between them creates a removable load path so technicians can service the concrete piston from the water box or flush-box side.
The exact stack differs by model. One design may use a split coupler around shaped rod ends. Another may place a removable spacer between the drive rod and piston assembly and retain each interface with a clamp coupling. A third may use a connecting rod, locking collar, piston adapter, and model-specific bolts. REED parts documentation, for example, lists the concrete-piston adapter and piston coupling as separate components. A Waitzinger operation manual describes a spacer and two clamp-coupling interfaces. These examples demonstrate design variation; they do not establish a universal assembly.
| Term found in service or parts information | What it may mean | Why the name alone is insufficient |
|---|---|---|
| Piston coupling or piston coupler | The removable joint between a drive rod and piston adapter or connecting piece | It may be a split clamp, collar, or another model-specific form |
| Connecting rod | A short member between the hydraulic rod and concrete-piston body | Some catalogs use the term for a complete member; others use it for only one part of the stack |
| Spacer | A removable distance piece used to establish the assembled length | Length and end geometry affect piston position; diameter alone cannot identify it |
| Dog bone | Workshop slang for a shaped connecting piece on some pumps | It is not a standardized part name or proof of interchangeability |
| Locking collar or clamp coupling | Split components that retain shaped mating ends | A water-box piston clamp must not be confused with a concrete delivery-pipeline clamp |
Why Fit at This Joint Matters
The concrete piston reverses direction repeatedly. That makes the connection a bidirectional axial-load joint rather than a simple holder. The parts must seat in the way intended by the manufacturer, the retaining components must remain secure, and the assembled length must place the piston correctly throughout its stroke.
An early patent for a concrete-pump rod connection explains the design problem clearly: the joint must withstand substantial pumping force, remain removable for service, and maintain a straight force path. That patent uses matching conical ends and clamp components. Its geometry should not be generalized to every current pump, but the engineering principle remains useful: locating faces and retainers work as a system.
If load is carried only across a small area because the joint is dirty, mismatched, incompletely seated, or deformed, contact stress can become concentrated. Micromovement can then polish or fret the mating faces, loosen fasteners, peen edges, or change the joint’s installed position. Tightening a retainer cannot restore metal that has been displaced or recreate the correct geometry of mismatched parts.
The coupling also belongs to a longer alignment chain. The hydraulic cylinder, rod end, coupling or spacer, piston adapter, guide ring, piston seal, and material-cylinder axis interact. A correctly fitted coupler cannot correct a misaligned pump-kit structure or a tapered cylinder bore. Conversely, replacing a delivery cylinder cannot repair a damaged coupling seat upstream.
Which Symptoms Justify a Coupling Inspection?
A coupling inspection is justified when there is evidence of relative movement, abnormal load transfer, or disturbed piston position. None of the observations below identifies the root cause by itself.
| Observation | Possible coupling-related mechanism | Important alternatives to check |
|---|---|---|
| Repeated knock or metallic click near stroke reversal | Clearance or movement at a mating interface; loose or damaged retaining parts | Piston guide-ring chatter, valve switching shock, hydraulic end-of-stroke behavior, loose guards or sensor brackets |
| Fresh polished bands, red-brown fretting debris, or peened edges | Micromovement between faces that should remain seated | Normal witness marks from previous disassembly, corrosion, or tool damage |
| Orientation marks no longer align | Relative rotation or incorrect reassembly | Marks may have been added during an earlier repair and not represent the OEM datum |
| Fasteners repeatedly lose clamp load | Damaged threads, wrong fasteners, distorted clamp halves, contaminated seats, or incorrect assembly | Wrong tightening method, reused locking hardware, missing locking features, or vibration from another fault |
| One-sided piston or guide-ring wear returns after replacement | Joint geometry may contribute to an off-axis load path | Material-cylinder misalignment, bore taper or ovality, piston-body damage, lubrication problems |
| Piston position or stroke endpoint differs after service | Wrong spacer length, incorrect component stack, or incomplete seating | Sensor adjustment, hydraulic leakage, control timing, or another mechanical installation error |
Sound location is especially deceptive. A water box transmits vibration from the drive cylinders, piston assemblies, proximity-sensor structure, and concrete end. A mechanic should compare both sides, record when the noise occurs, and inspect physical evidence after safe isolation instead of ordering a coupling from sound alone.
How Should the Joint Be Checked?
Inspection should begin with identification and evidence preservation. Photograph the installed assembly, record the pump model and serial information, note which side is being serviced, and capture any part numbers or orientation marks before disturbing the joint. REED’s B50 technical manual specifically tells technicians to mark the piston coupler so it can be returned to the same relationship after service. That instruction is model-specific, but it illustrates why assembly position can matter.
After the machine has been placed in the exact safe service condition required by its manufacturer, clean the components well enough to distinguish wear from hardened concrete, grease, corrosion, and old marking paint. Then examine:
- the full mating faces, not only the visible outside edge;
- clamp or collar halves for cracks, distortion, mismatched identification, and uneven contact;
- bolts, nuts, washers, threads, locking devices, and counterbores for damage or substitution;
- spacer or connecting-rod length, end form, and any orientation feature;
- hydraulic-rod and piston-adapter ends for peening, fretting, corrosion, or pulled material;
- the piston adapter, guide ring, and seal for directional wear;
- the surrounding sensor bracket and water-box structure for witness marks or shifted settings.
Matching transfer marks can be informative. A uniformly seated joint often leaves a consistent contact pattern, while an isolated shiny spot next to untouched or corroded areas may indicate partial contact. That remains an observation, not a dimensional acceptance test. The manufacturer’s drawing, service gauge, or specified inspection method controls the decision.
Do Not Use Movement as a Hands-On Inspection Method
The piston and coupling are located in a crushing zone. The American Concrete Pumping Association’s mechanics guide says personnel must not reach into the valve or water box unless the drive is disabled and zero accumulator pressure has been verified. An OSHA accident record documents a mechanic suffering finger and thumb amputations when a hydraulic piston rod moved during piston-cup installation.
Some OEM procedures require controlled jogging to position a piston for removal. That powered positioning and the subsequent hands-on work are separate phases. Follow the specific manual, keep personnel clear during motion, and complete the required shutdown, isolation, stored-energy release, and verification before touching the joint. An emergency stop alone should not be treated as proof that every stored-energy source is harmless.
When Is Tightening Not a Repair?
Retightening may be appropriate only when the components remain serviceable and the OEM procedure identifies the correct hardware, preparation, tightening sequence, torque or angle, and locking method. A universal torque value would be unsafe and technically wrong because fastener size, grade, thread condition, lubrication, clamp design, and joint geometry vary.
Replacement or engineering review is normally more appropriate when a retaining half is cracked or visibly distorted, locating faces are peened or galled, threads have pulled, an end feature has lost its shape, the spacer is dimensionally wrong, or the assembly contains unmatched parts. Grinding a damaged seat until it “fits,” stacking improvised shims, substituting delivery-line clamps, or using higher-grade bolts without design approval can change how the joint carries load rather than restore it.
If a newly assembled joint loosens again, stop treating the fastener as the only problem. Check whether the parts actually seat, whether the correct locking hardware was used, whether the piston or cylinder is side-loading the joint, and whether reversal shock or hydraulic behavior is abnormal. Repeat loosening is evidence that the system requires diagnosis.
What Information Is Needed to Order the Correct Parts?
A useful request for quotation identifies the complete connection stack and the intended replacement scope. A generic request for a “concrete pump dog bone” leaves too much room for error.
| Information to provide | Why it matters |
|---|---|
| Pump manufacturer, model, serial range, and year if known | Similar pump families can use different rod ends, piston adapters, or hardware revisions |
| OEM and existing part numbers | Part numbers help distinguish a coupling, spacer, connecting rod, collar set, and complete piston assembly |
| Photos installed and removed | Orientation, number of interfaces, clamp form, sensor clearance, and adjacent parts become visible |
| Critical dimensions from an agreed drawing | Overall length, locating diameters, end form, bolt pattern, thread data, and interface dimensions affect fit |
| Whether parts are supplied individually or as a matched set | Some mating or split components should not be mixed across unidentified sets |
| Observed fault and related inspection results | Repeat loosening, directional wear, bore measurements, and alignment findings can change replacement scope |
| Fastener and locking-hardware requirements | A visually similar bolt may have the wrong grade, length, thread, coating, or locking arrangement |
When piston-side wear is part of the complaint, include bore maps and alignment findings rather than buying the joint in isolation. LeeIndust’s delivery-cylinder bore measurement guide explains how taper and ovality records help separate bore condition from piston-side symptoms. The material-cylinder alignment guide covers installed-axis evidence. Replacement Concrete Pump Delivery Cylinders should be selected only after the coupling, piston, bore, and pump-kit interfaces have been treated as one load path.
Frequently Asked Questions
Is a piston coupling the same as a concrete pipe coupling?
No. A piston coupling is inside the pump’s drive-to-delivery-piston load path. A delivery-pipeline coupling joins concrete pipe or hose ends and is selected according to line size, end style, and pressure requirements. Similar words do not make the components interchangeable.
Does a knock at reversal prove the coupler is loose?
No. It justifies inspection. The same general area can transmit noise from a worn guide ring, piston assembly, sensor bracket, hydraulic cylinder, valve shift, or structural connection. Physical joint evidence and model-specific checks are needed.
Should both left and right coupling assemblies be replaced together?
There is no universal paired-replacement rule. Inspect and identify both sides, compare their condition, and follow the manufacturer’s parts and service instructions. If one side failed early, finding the cause matters more than automatically duplicating the replacement.
Can overall length identify a connecting rod or spacer?
Not reliably. End geometry, locating dimensions, bolt or thread details, orientation features, material and heat-treatment requirements, and the adjacent piston adapter and rod end may all matter. Use a controlled drawing or verified part number.
Can a new coupling correct one-sided piston wear?
Only if coupling damage or mismatch is the verified cause. One-sided wear may also come from bore taper, ovality, installed-axis misalignment, guide-ring wear, piston-body damage, or lubrication conditions. Replacing a sound coupler will not correct those faults.
Conclusion
The concrete pump piston coupling is small compared with a delivery cylinder, but it carries the force between the hydraulic and concrete sides on every stroke. Diagnose it by examining the complete connection stack: mating faces, retainers, fasteners, spacer or connecting rod, piston adapter, guide components, bore condition, and alignment. Preserve identification data before disassembly, use the OEM service procedure for all powered positioning and tightening details, and replace damaged geometry rather than trying to hide it with extra torque.
Technical Sources
- REED B50 Technical Manual — piston adapter, piston coupler, orientation marking, and flush-box service context.
- REED B30 parts and operation manual — concrete-cylinder assembly parts identification.
- Waitzinger concrete pump operation manual — model-specific spacer and clamp-coupling arrangement.
- DE1942247A1 concrete-pump rod connection — engineering context for removable, aligned force transfer in one historical design.
- ACPA Safety Procedures for Concrete Pump Mechanics — water-box access and stored-energy precautions.
- OSHA concrete-pump piston-cup accident record — documented crushing and amputation hazard from unexpected piston-rod movement.